
I realized that Joey's bunk beds would fit better in our office/guest room, and when I suggested the idea to Paul he wasn't opposed to it. Although the room is smaller, it has more wall space which was needed for the beds. The room needed some work, though. The walls needed to be painted (green, since it's Joey's favorite color), the ceiling needed to be scraped, sanded, and repainted, and all of the trim needed to be painted because it was a lovely shade of dinge.
We decided to tackle this project over Memorial Day weekend.
Our plans were to get started Friday night since Joey was sleeping at a friend's house. We weren't fond of the popcorn-textured ceiling, so Paul's task was to scrape, sand, and paint it. We cleared most of the furniture out of the room, but Paul wasn't feeling well thanks to something that he *ahem* consumed, so the ceiling didn't get done that night.
Paul was feeling better Saturday morning, so he got to work on the ceiling while Charlotte and I bought our paint. Joey wanted her room to be green, her favorite color, so we wanted a green that flowed well with the rest of the house, was youthful, and not too bright. We settled on Laura Ashley Apple 4 (available at Lowe's), but had it mixed in Glidden at The Home Depot to save some money. Saturday was spent working on the ceiling, painting the walls, and painting the trim. That seriously took all day. Things take twice as long when you have children to tend to!
 |
| Disassembling the desk |
 |
| Charlotte and Macy checking out the action |
 |
| After scraping and sanding the ceiling |
 |
| Fresh paint |

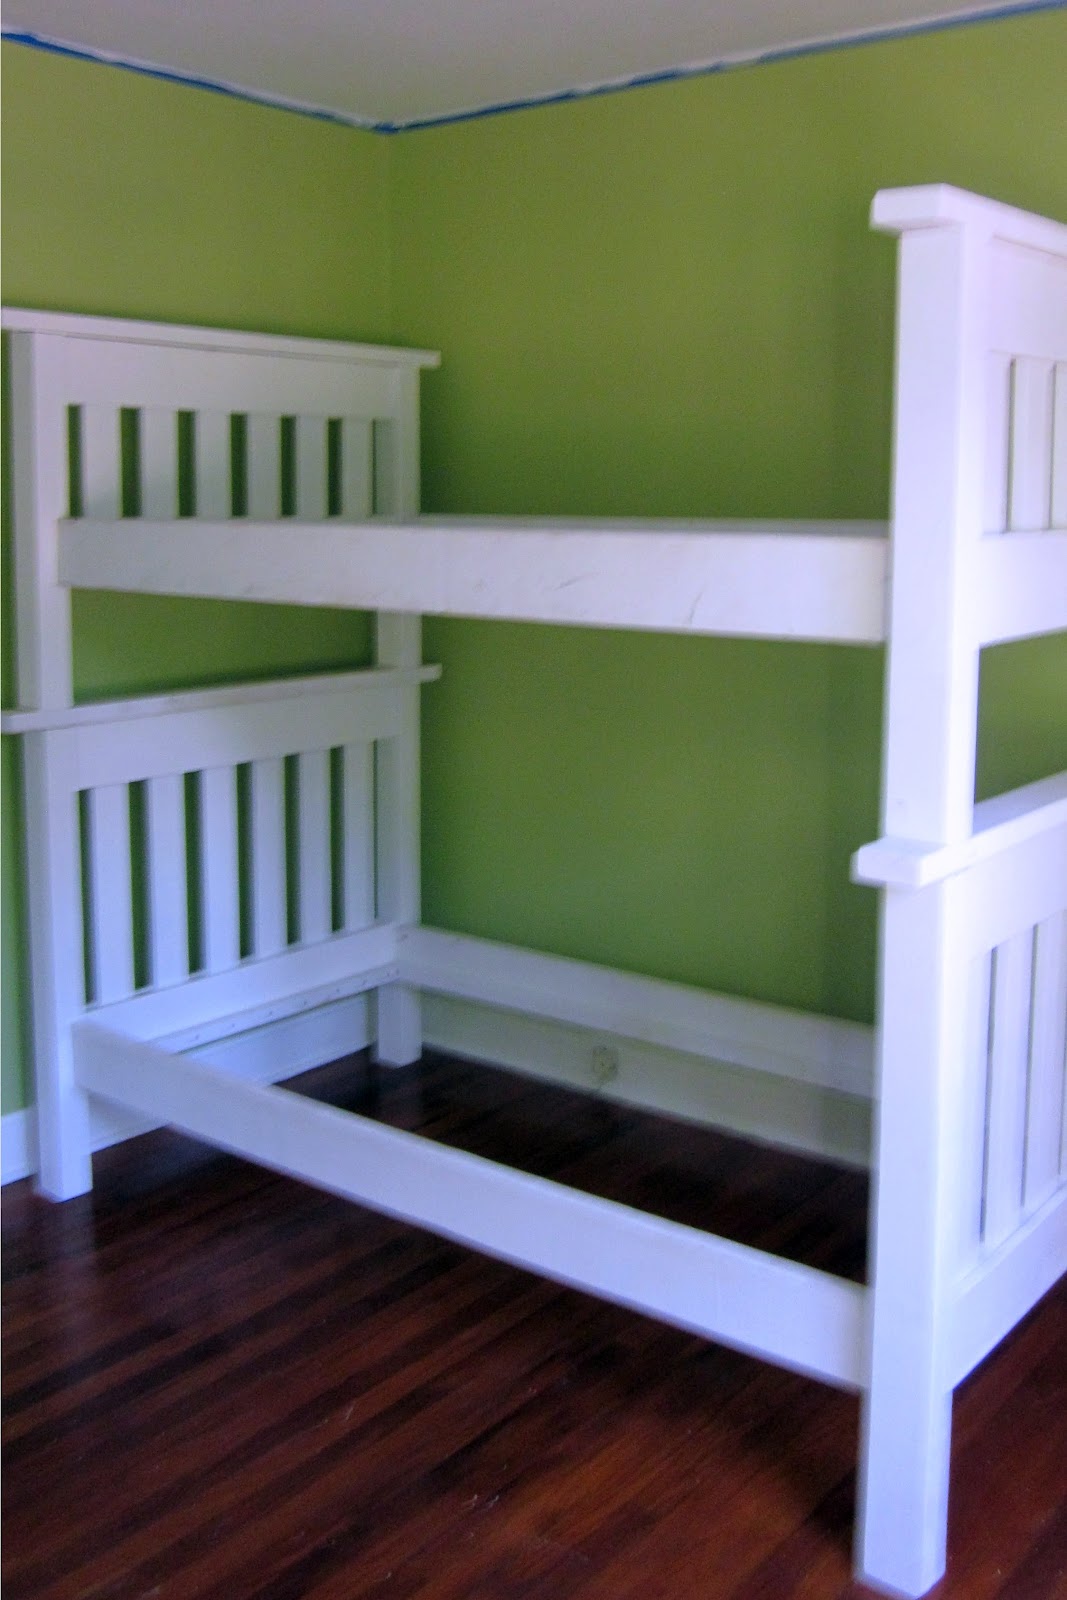
Voila! Joey's beds: a year in the making!


We'll need to hang Joey's responsibility chart and the clock that she wanted for her birthday, and Picasso line drawings from her old room.
Right now Charlotte's crib is still in Joey's old room, our new office/play room/guest room. But cribs are temporary, and when she's big enough to sleep in a big girl bed she can have the top bunk. Kidding.
All of the work that we've put into Joey's new room has been totally worth it. She is thrilled with her new space.
LOVE IT! it turned out great! now you need some of my letters to put her name abouve her bed. lol
ReplyDeleteWhitney