Showing posts with label decorating. Show all posts

Friday, January 6, 2012

Party Planning Committee: Fabrics

For Charlotte's birthday party, I decided to create a banner and coordinating table runner out of fabric.  I could have used scrapbook paper for the banner, which would have been just as cute, but I wanted it to match the table runner.  Plus, I think that the banner will look precious hanging in Charlotte's room when the party is over.  Soooo, I assessed what I already had and then when to Fabric.com to choose some additional fabric.  I plan to do basically the same thing for Joey's birthday in February, so I ordered plenty for a second project.

These are the fabrics that I'll use for Charlotte's party decor:


And this is her party invitation, for reference:


The fabric and invitation are not matchy-matchy, but each fabric includes at least one color from her invitation.

Last night I started working on the table runner.  I did not take pictures to document the process, but the project is very straightforward.  I used my rotary cutter and self-healing cutting mat (thanks, Paul!) to cut strips of varying lengths but (fairly) uniform width.  And then I stitched them together to form a long strip.  Sorry, no pictures, but imagine something like this:


That's not an accurate representation by any means, but get the picture?  Okay, good.

Now I just need to trim up the edges and stitch the runner and the liner together.  For the liner I'm using a couple of yards of cheap off-white broadcloth, cut to the size of the runner.  I'll stitch "right sides" together on three sides (like a pillow case) and then turn inside-out and stitch the fourth side closed.

Next on the agenda will be making her banner(s) from the above fabrics.  I will cut the fabric into triangles and attach a fabric backing.  Right now I'm thinking of using a no-sew method - Heat n Bond - so that the little flags will be stiffer.  Imagine that it will look something like this,  but hopefully with nice straight lines:

I'll share pictures of the actual table runner and banner soon, if only to prove that I can cut a straight line.

Thursday, December 29, 2011

Party Planning Committee

Holy moly!  Charlotte's first birthday is in three weeks!  I was so distracted by Christmas that I hadn't given the slightest thought to planning her party.  And the first birthday is kind of a big deal.  Not that she'll remember it.

Out of laziness Because I'm cheap In my attempt to lead a greener lifestyle, I usually send out Evites, but I had a credit at Shutterfly and decided to send out paper invitations.  I guess that instead of being green, we're keeping the postal service in business.  Here is our adorable card:


I just love Shutterfly.  Honestly.  And thanks again to David Smith for the gorgeous photos.  The pictures from our photo shoot have gone a long way!   

I've been stalking Pinterest for party decor ideas:
  • make a birthday banner either out of fabric or card stock using color scheme from the invitations
  • sew a table runner with leftover fabric from birthday banner
  • make an arrangement with coffee filter "flowers" or something like that (my friend Stacey made some for her one-year-old's birthday that were adorable!)
  • and that's about it for now!
I'm also planning to DIY a cake or cupcakes, and Charlotte will have her own "smash cake" of course.

In the meantime, we need to clean our house.  It will take about 3 weeks to clean up the mess from Christmas!


Wednesday, June 1, 2011

Joey's New Room

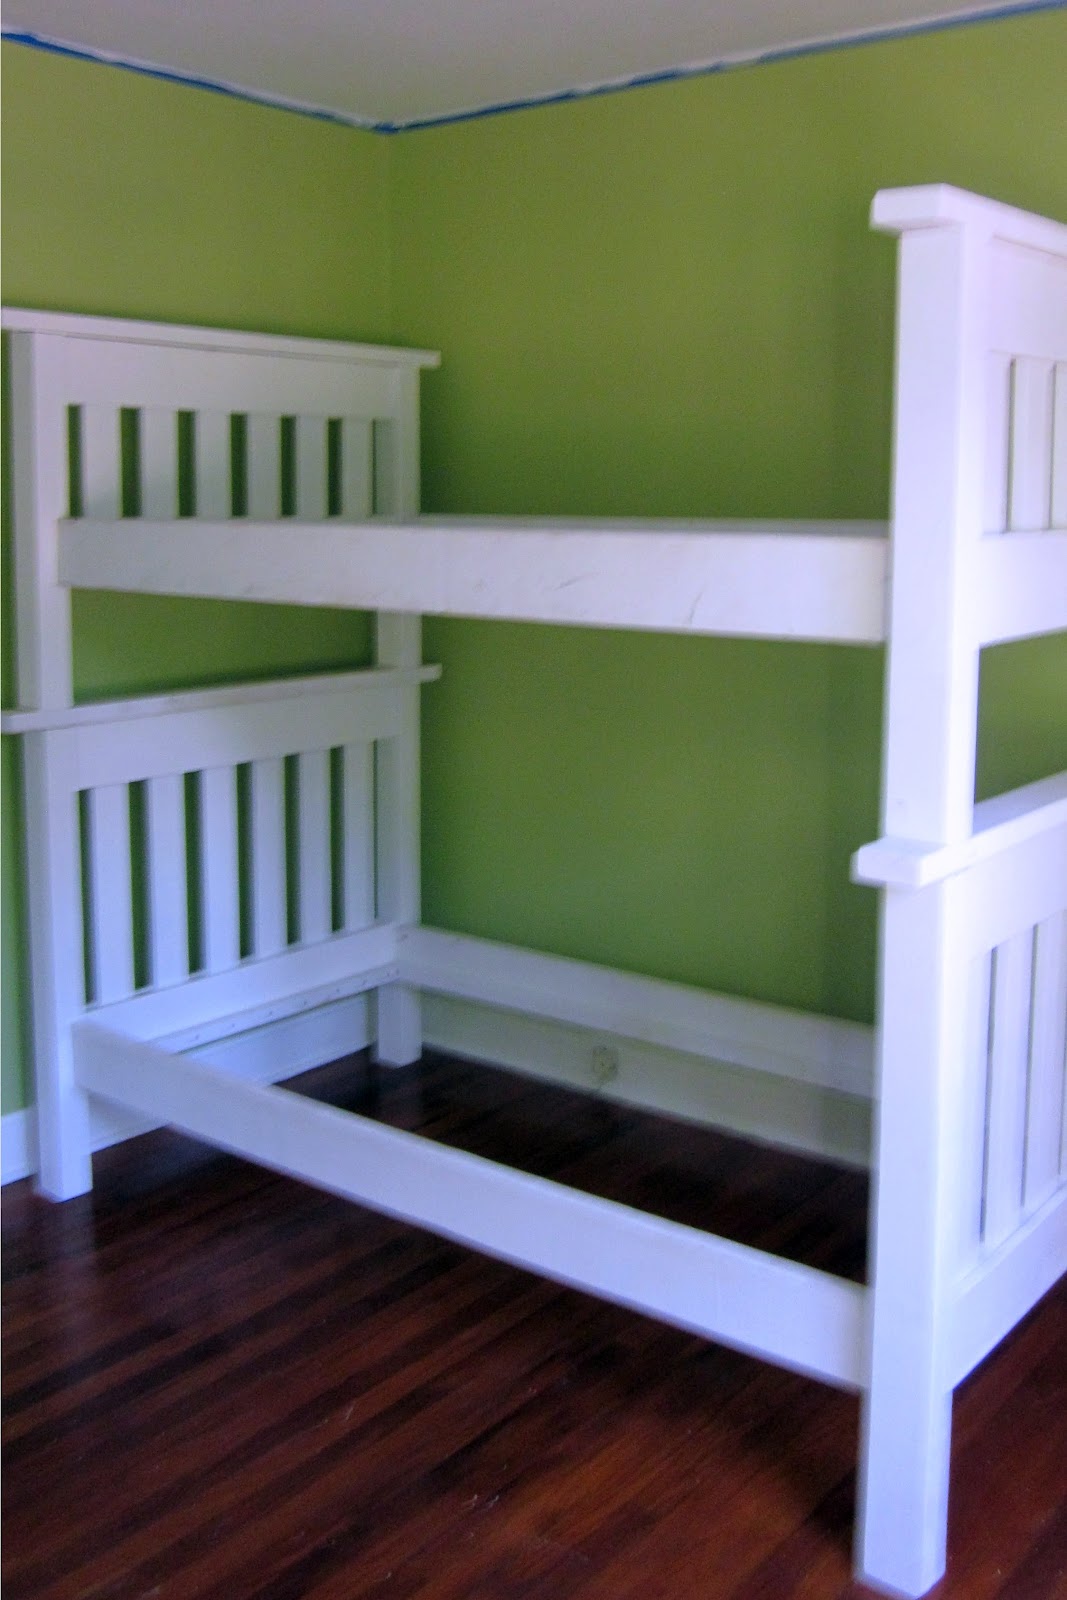
About a year ago, I was inspired to build bunk beds for Joey.  Yes, build.  Like with wood and tools.  And my pregnant self was flying solo because my husband didn't quite share my vision.  It took several weeks but I managed to get all of the pieces cut, put together, and primed.  I assembled the bottom bunk in Joey's room and (oops!) they didn't quite fit.  Well, they fit, but since the room has two walls of windows, the only place that they "fit" was in front of a window, which just didn't look right.  Plus she would kick the blinds with her feet and I really didn't want them to fall on her.  So I didn't even bother to assemble the top bunk. 
Since I was pregnant with Charlotte at the time, this project went on the back burner.  But almost a year later, after several months of looking at Joey's incomplete bed and the pieces of the top bunk scattered throughout the house, I needed to check this project of my list.

I realized that Joey's bunk beds would fit better in our office/guest room, and when I suggested the idea to Paul he wasn't opposed to it.  Although the room is smaller, it has more wall space which was needed for the beds.  The room needed some work, though.  The walls needed to be painted (green, since it's Joey's favorite color), the ceiling needed to be scraped, sanded, and repainted, and all of the trim needed to be painted because it was a lovely shade of dinge.

We decided to tackle this project over Memorial Day weekend.

Our plans were to get started Friday night since Joey was sleeping at a friend's house.  We weren't fond of the popcorn-textured ceiling, so Paul's task was to scrape, sand, and paint it.  We cleared most of the furniture out of the room, but Paul wasn't feeling well thanks to something that he *ahem* consumed, so the ceiling didn't get done that night.

Paul was feeling better Saturday morning, so he got to work on the ceiling while Charlotte and I bought our paint.  Joey wanted her room to be green, her favorite color, so we wanted a green that flowed well with the rest of the house, was youthful, and not too bright.  We settled on Laura Ashley Apple 4 (available at Lowe's), but had it mixed in Glidden at The Home Depot to save some money.  Saturday was spent working on the ceiling, painting the walls, and painting the trim.  That seriously took all day.  Things take twice as long when you have children to tend to!
Disassembling the desk
Charlotte and Macy checking out the action
After scraping and sanding the ceiling
Fresh paint
On Sunday, we painted more trim and Paul painted the ceiling.  We then set up her bunk beds in her new room.  That was fun.  Fortunately our neighbors had company and we were able to borrow some manpower to lift the top bunk into place.  It was heavy as all get out.
On Monday, while Paul was at the park with both girls, I painted the beds and moved the girls' dresser in.  When he returned we attached the beds, installed the rails on the top bunk, and moved the mattresses in.  I've realized that making the bed on the top bunk is really a chore, so if you have some tips please share!

Voila!  Joey's beds:  a year in the making! 
There is still work to be done.  In Joey's old room, she didn't have a place for books, besides the messy pile next to her bed (her books are kept with the grown-up books in the living room).  I saw a blog post about using Ikea spice racks as book holders and thought that they would be great in Joey's new room.  Paul happened to be in Atlanta for business a few weeks ago and actually offered to go to Ikea to purchase some of these spice racks.  We'll be mounting them on the wall soon.

We'll need to hang Joey's responsibility chart and the clock that she wanted for her birthday, and Picasso line drawings from her old room.

Right now Charlotte's crib is still in Joey's old room, our new office/play room/guest room.  But cribs are temporary, and when she's big enough to sleep in a big girl bed she can have the top bunk.  Kidding.

All of the work that we've put into Joey's new room has been totally worth it.  She is thrilled with her new space.

Wednesday, October 27, 2010

DIY: Joey's Bunk Beds

For several months I have been obsessed with Ana White, an Alaskan stay-at-home mom who designs and builds furniture and then blogs about it.  Paul does not like this obsession.  He has no interest in building our own furniture, although his help is both required and expected. 

Wednesday, October 13, 2010

My Attempt at Fall Decor

Joey and I had a $10 Home Depot gift card to burn, so we went shopping for some fall decor for our front porch steps.  We spent a total of $8.64:
mums:  $2.97
medium pumpkin:  $2.97
pie pumpkin:  $1.99
Here are some pictures of my attempt at decorating.  And cute pictures of Joey, of course.


LinkWithin

Related Posts with Thumbnails